NinjaInterview, by 500 Apps, is the perfect answer for anyone searching for a means to accelerate and simplify the process of conducting job interviews. NinjaInterview's intuitive graphical user interface and robust feature set make it a breeze to locate and select the most qualified job applicants for open positions. Optimize your interview process and save time for your organization by using an Interview assessment tool.
NinjaInterview comes with an Infinity Suite of 50 apps for growing businesses.
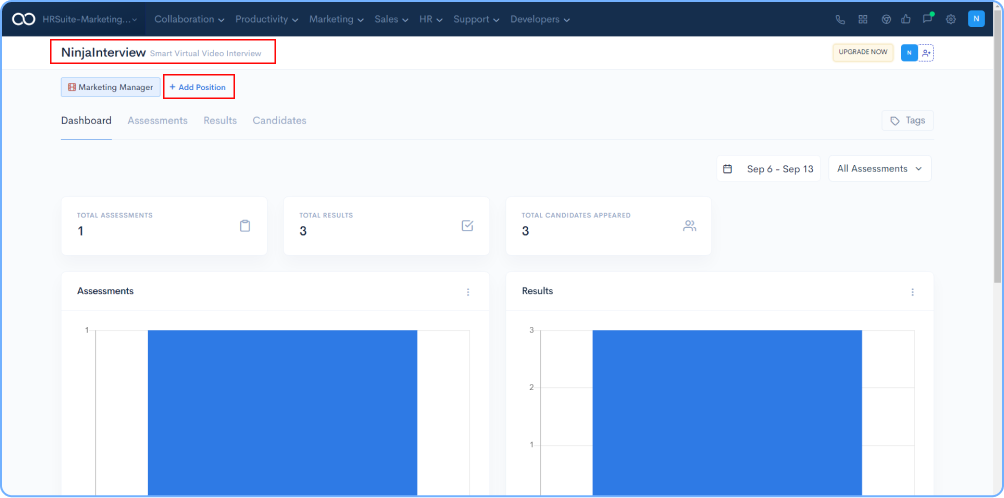
This article provides an overview of how the NinjaInterview app works and what you need to know to get started with NinjaInterview.
Go to infinity.500apps.com > Select HR from the top bar > Select NinjaInterview
Click on + Add Position in the dashboard of NinjaInterview.
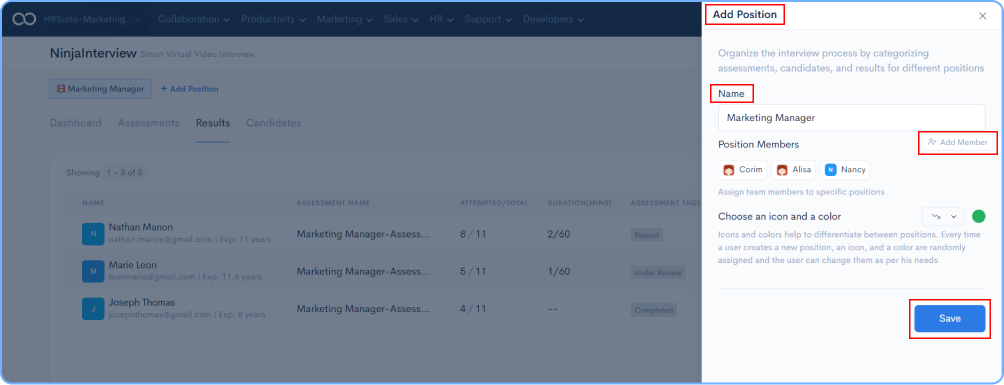
Enter the name of the position followed by adding the members required for the project and click on the Save button.
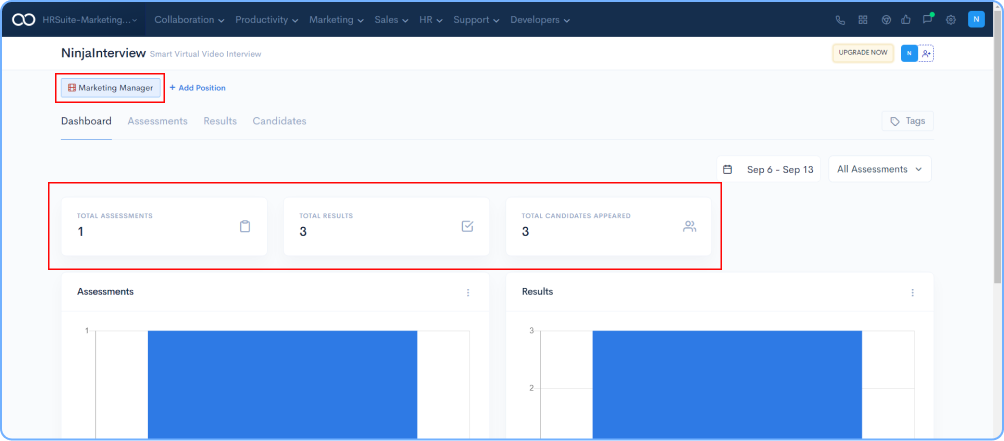
Below is the screenshot of the dashboard for the newly Created position.
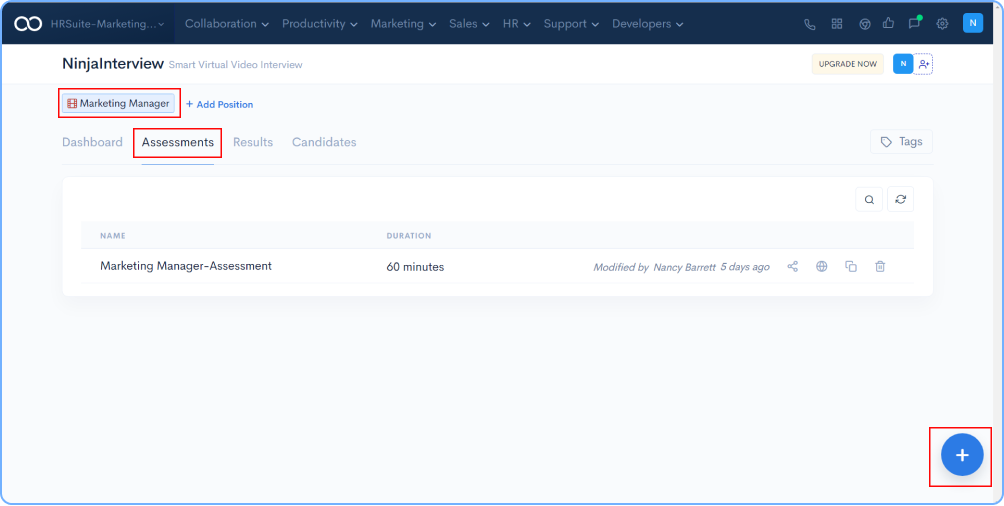
Now start creating the assessments as per the position requirements. Select the position created and click on + or Add Assessment
Add an assessment by filling in the required information as shown below. Enable copy paste based on your requirements.

Pre defined tags are available to tag the candidate based on his performance.

Allocate the appropriate tag to the candidate after verifying the result.
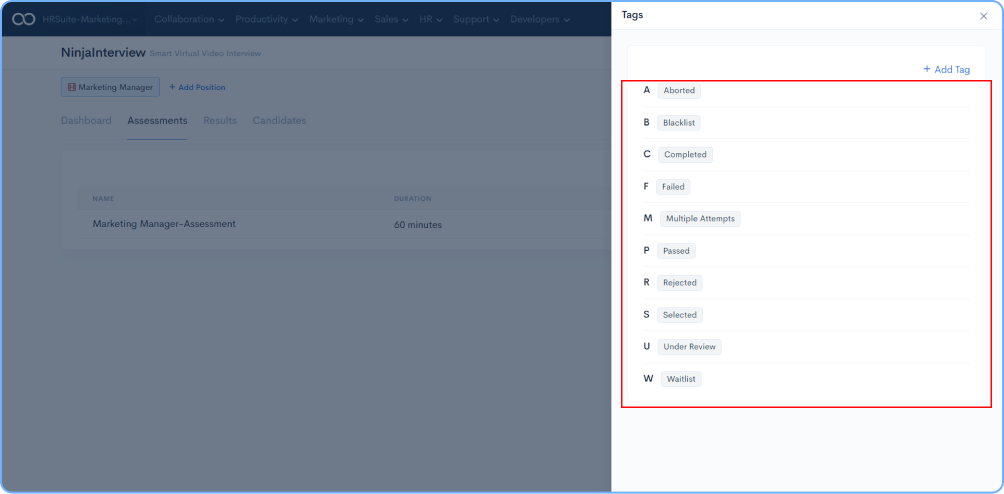
Click on Tags icon on the dashboard. as shown in the image below.

Click on + Add Tag on the RHS side.

Provide the tag name in the popup on your screen and click on the Save button.
On the RHS of the assessment, you will find a Share icon, click on that.
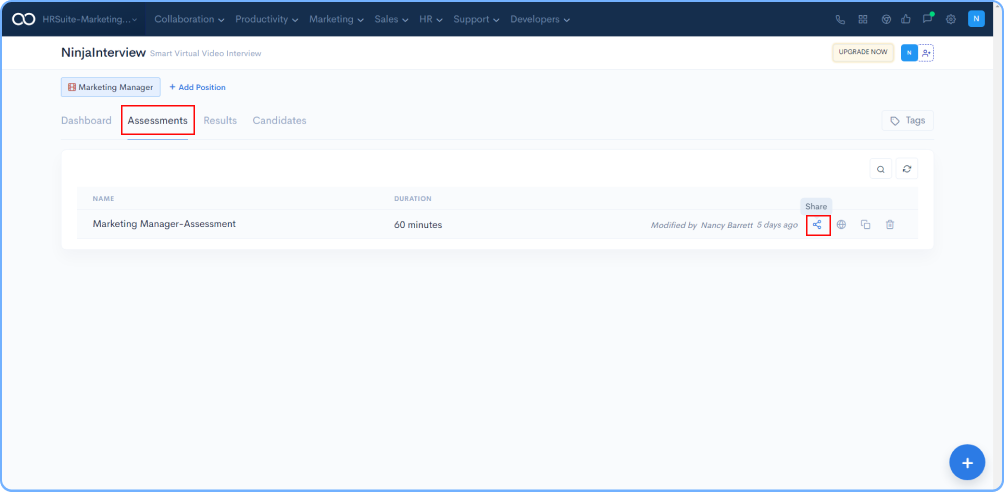
Share the assessment with multiple people using the link generated for the assessment. Copy and paste the in your mail and share with required persons.

Provide the email address of the candidate if you only need to share it with one or a limited number of candidates.

On your RHS you can see an icon that looks like a Globe, click on that.

You can use the default link generated by NinjaInterview or you can also customize it by shortening the url and click on Save button.
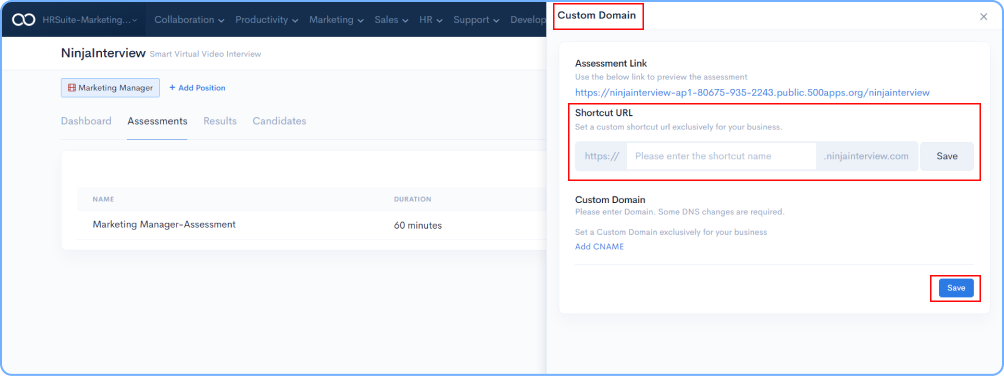
To further customize it using your domain, you have to add CName by clicking on Add CNAME.

Copy the code provided on the popup, enter your domain address, and, once the code is pasted, click on the Verify button.
Note: Take the help of your administrator if you are not familiar with the domain settings of your website.
Note: DNS changes may take some time to apply. If doesn't find the record immediately, wait a couple of minutes and then try to verify again.

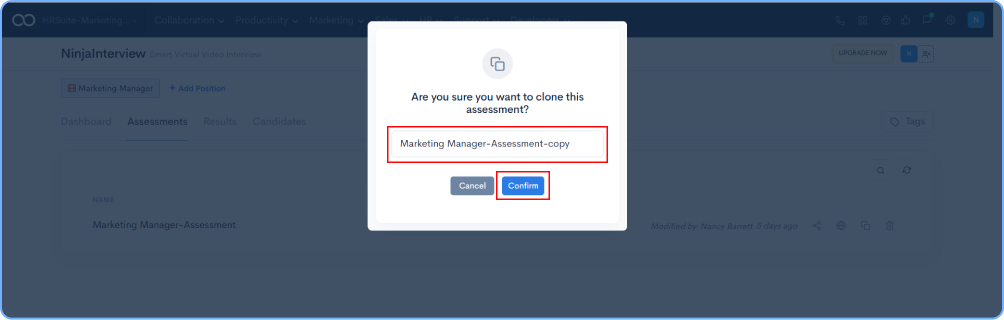
Click on the Clone button on the dashboard, as shown in the image below.
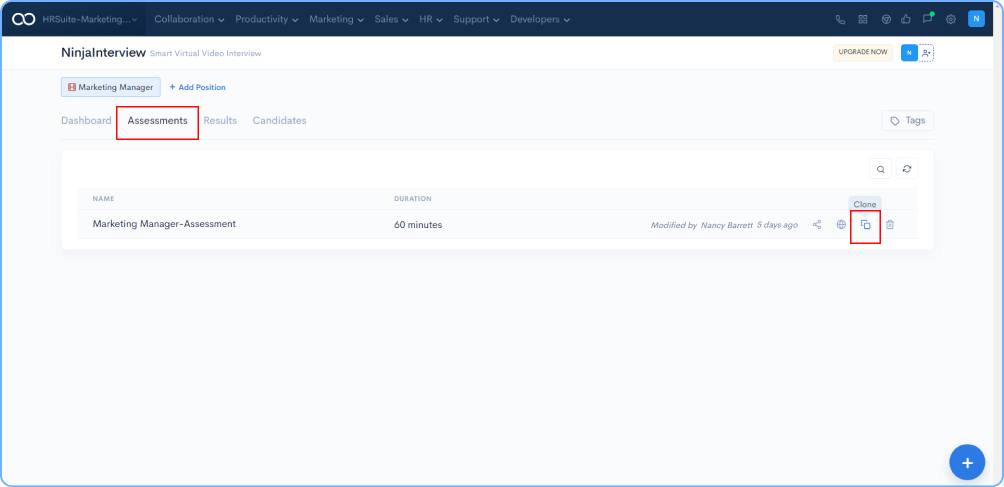
On the popup, give the assessment a name and click on the Confirm button.
On the dashboard on RHS you will find a Delete icon, click on that.
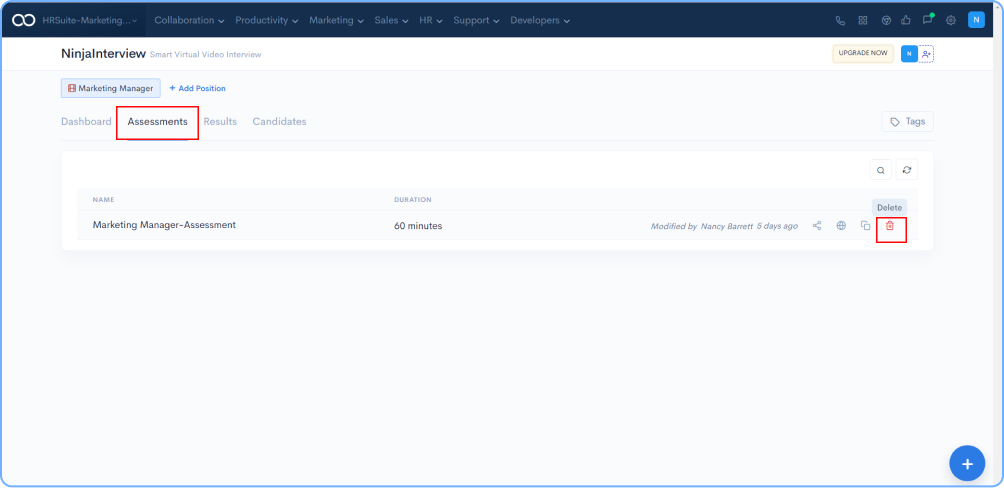
Click on Confirm option and the assessment will be deleted.

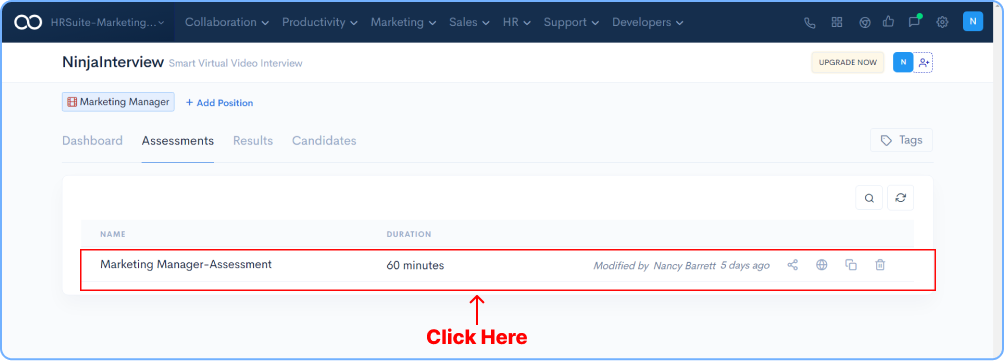
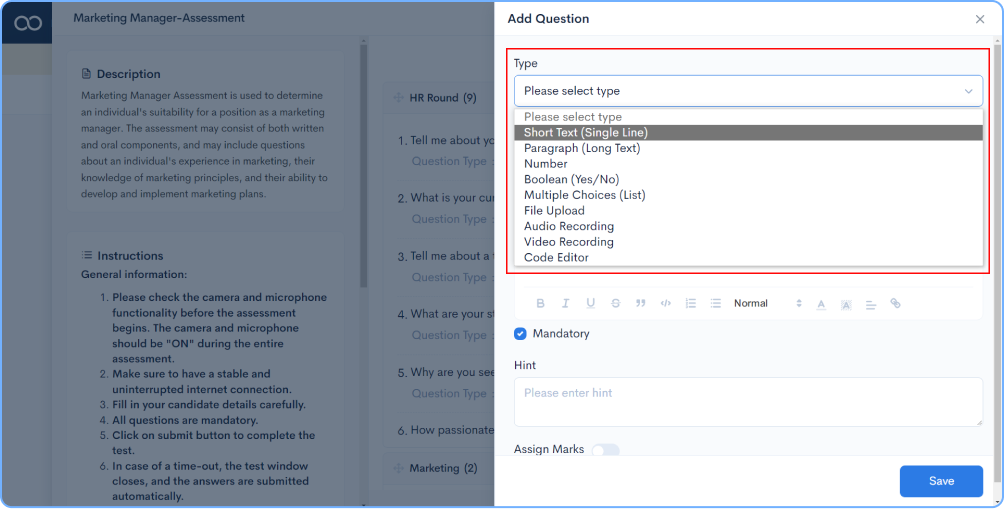
NinjaInterview has multiple question formats like Short text, Paragraph, Number, Boolean, Multiple choice, File Upload, Audio recording, Video recording, Code editor You can add question by clicking on Assessment created
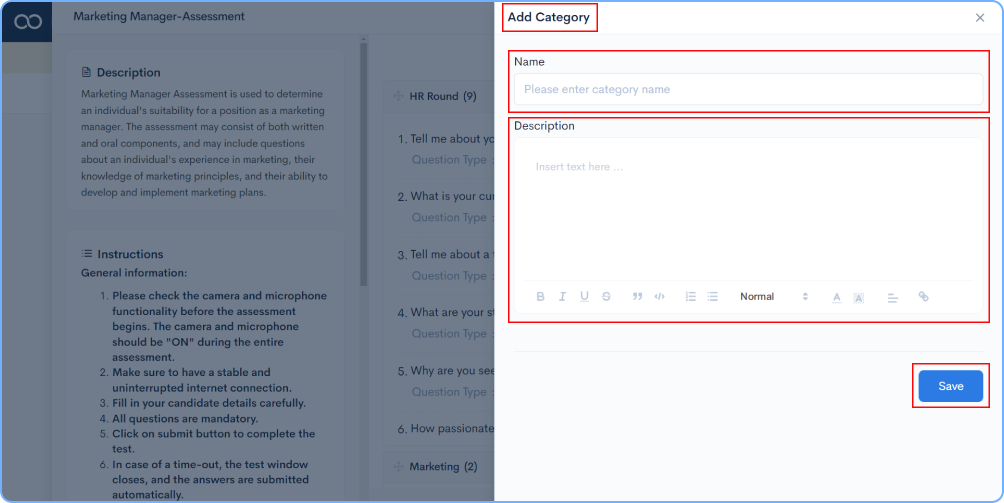
Click on Add Category
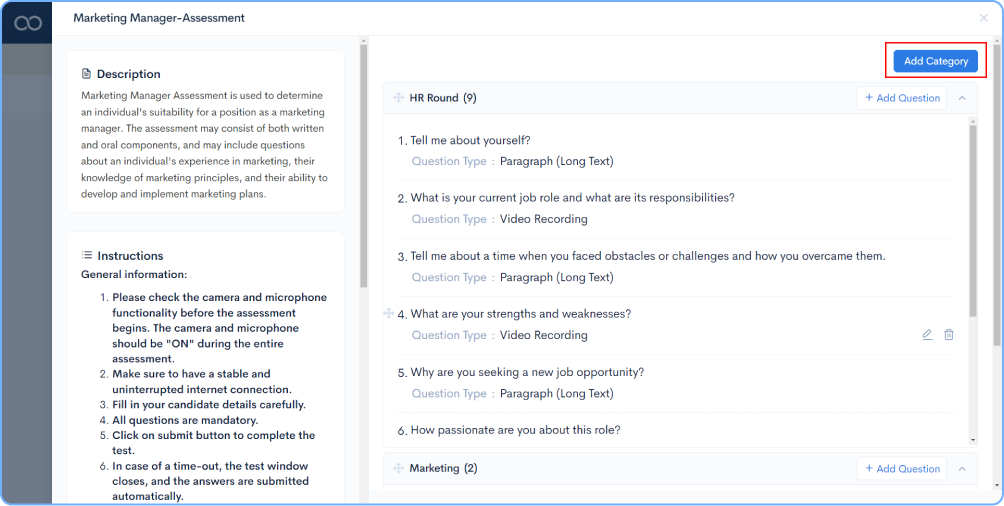
Name the category, fill in the description, and click the Save button.
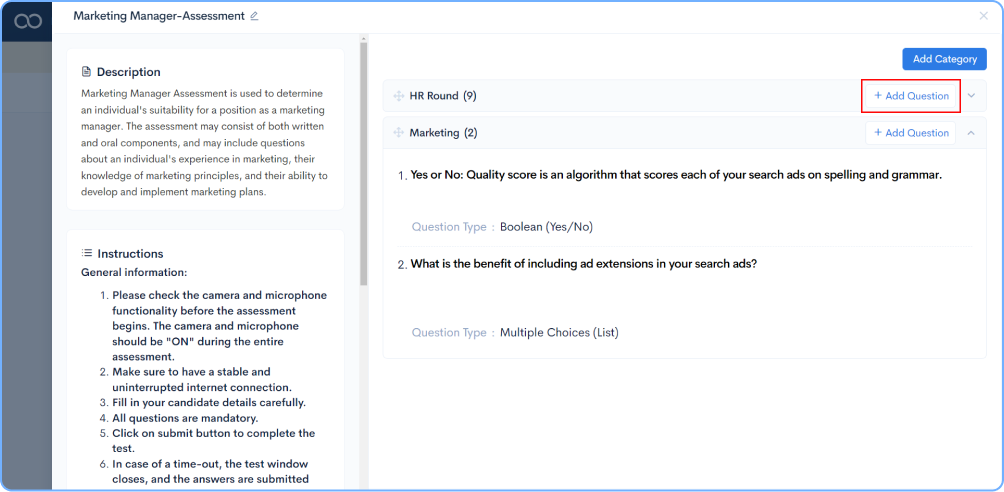
Select the newly created category, and click on + Add Questions
Add the question type required from the Dropdown menu, and save the Question.
Click on Assessments
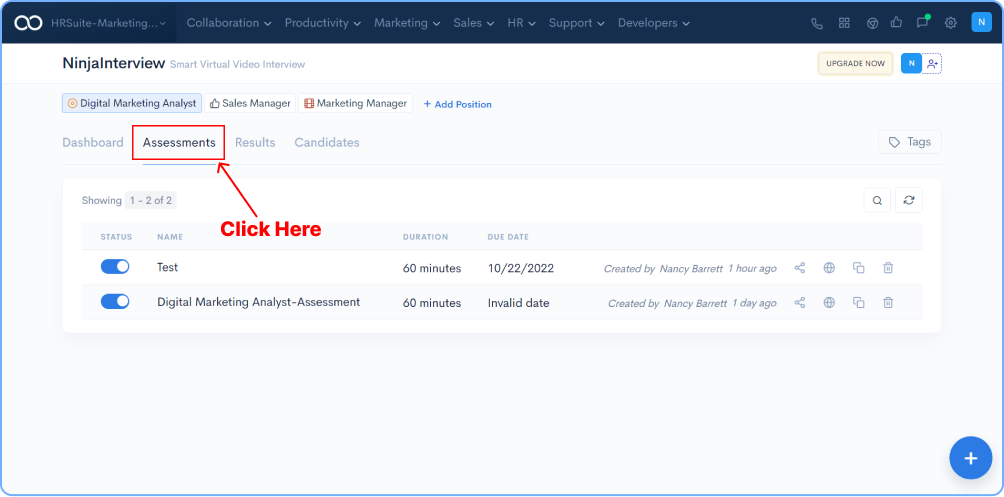
Click on the Assessment Created
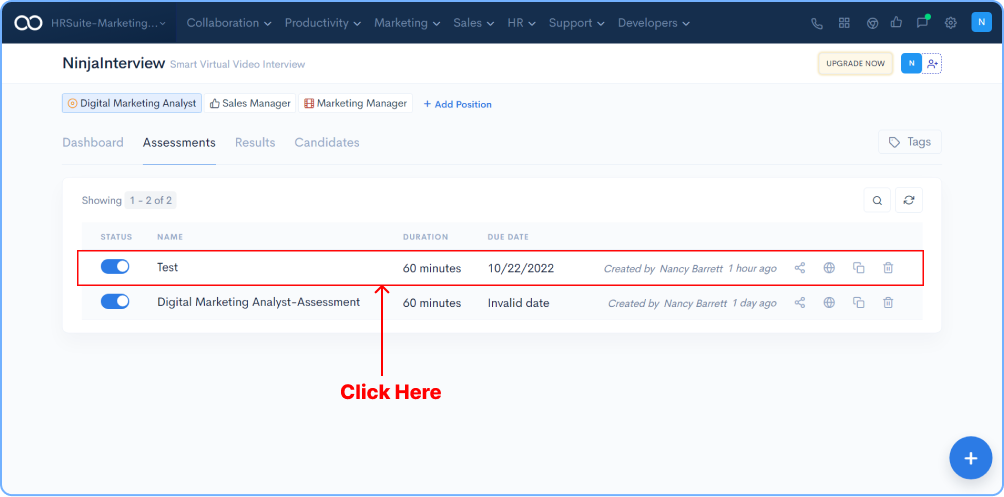
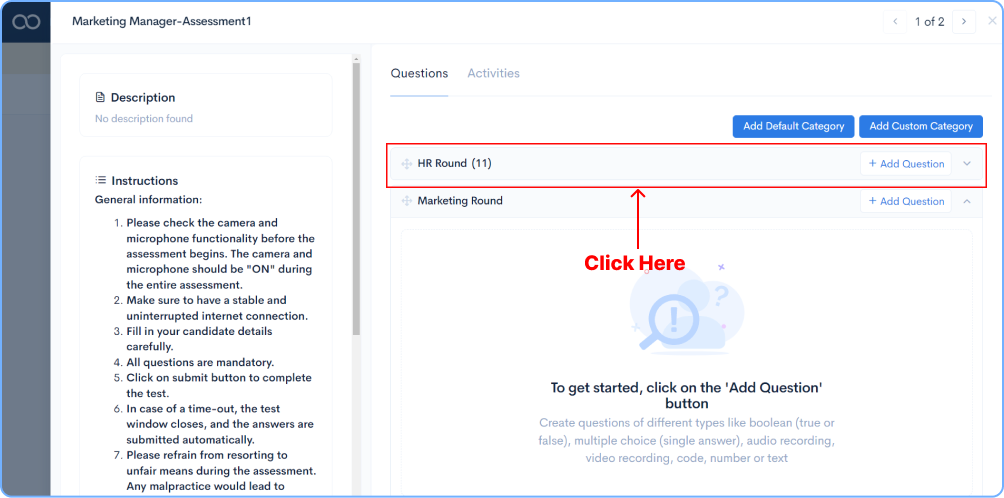
Click on the Question category
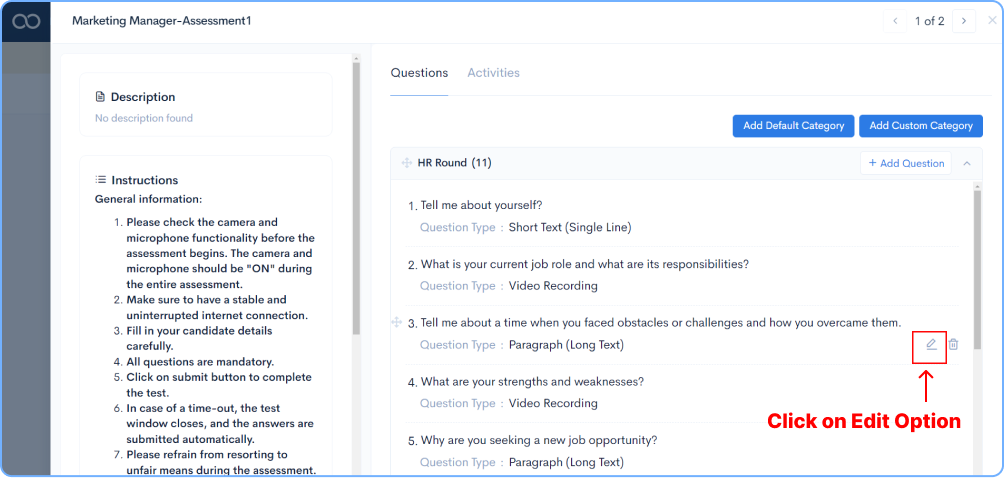
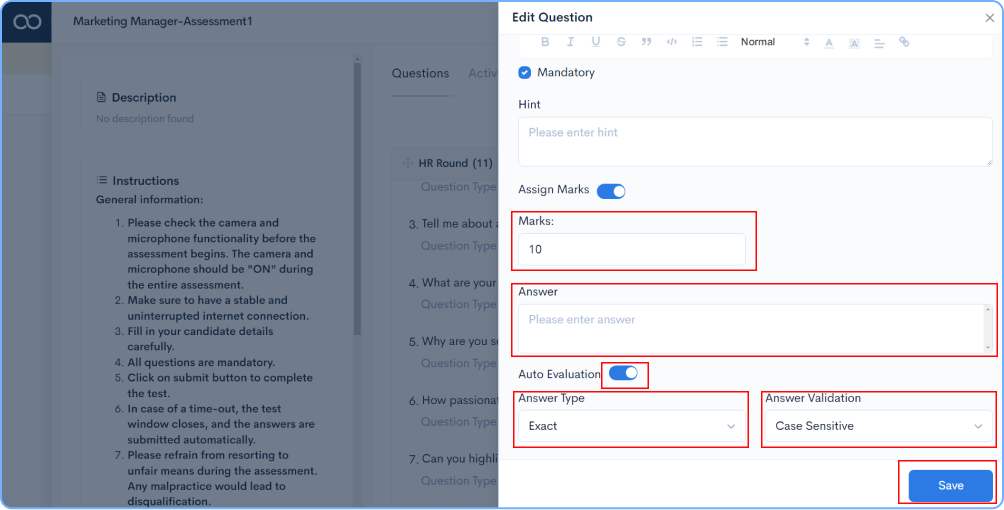
Select the Question for which Auto Evaluation has to be enabled and click on “Edit” Option.
Activate Assign Marks by clicking the Toggle button.
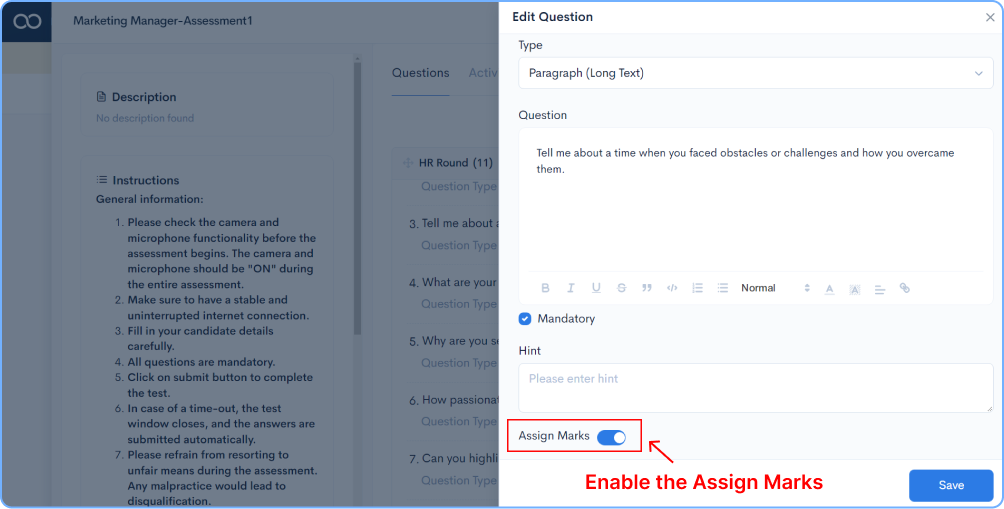
Provide Marks for the question, answer, enable Auto Evaluation, select the Answer Type and Answer Validation format.
Now the assessment can be shared with the candidates. Click on the Share button on your RHS.

Once you have clicked on the Share icon, you will see a pop up on your RHS. You can either copy and paste the assessment link or even email it directly to candidates by providing an email address as shown below.

Once the candidates are done with their assessments, you can grade them in the results section.
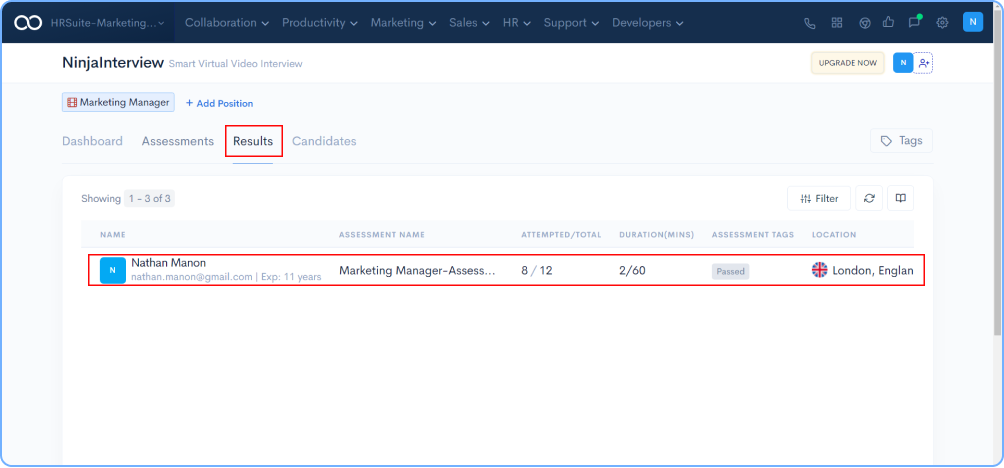
Click on the Assessment to view all the answers submitted by each candidate.

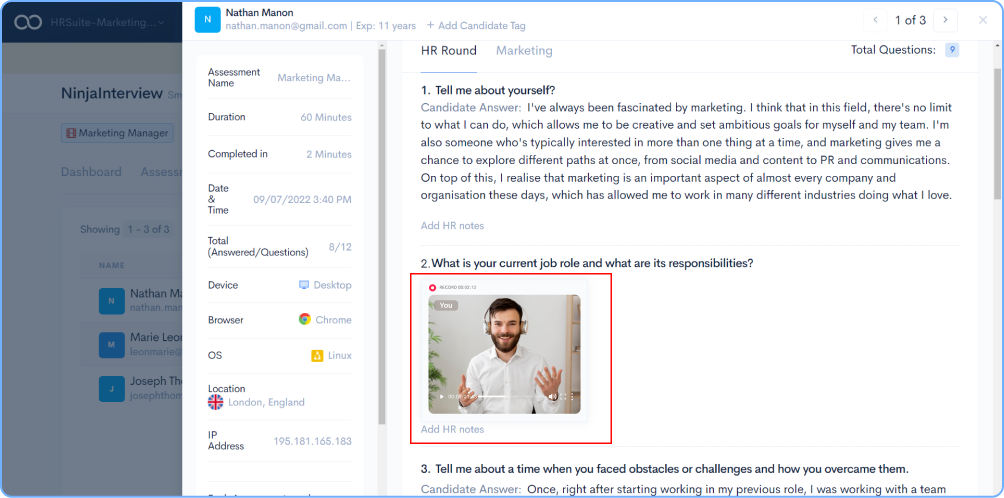
Answers provided by the candidates will be as shown in the below image. You can review and provide a score for the answers and tag them with the appropriate tag.
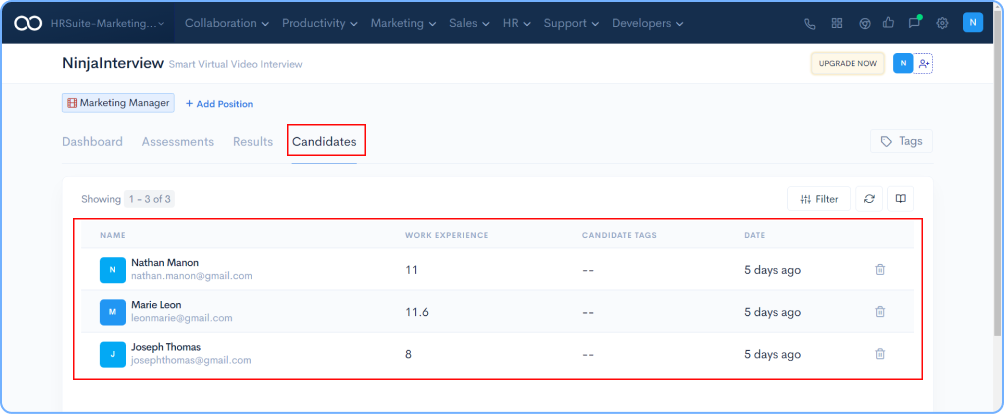
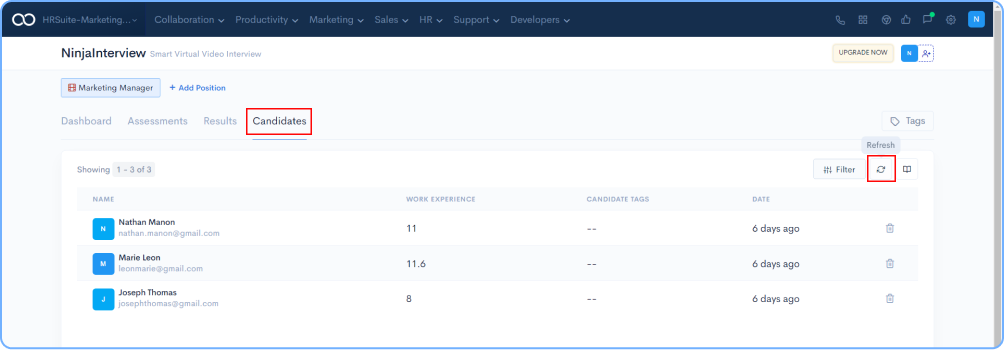
Candidates who have completed the assessment will be visible under Candidate’s dashboard.
On the RHS you can find an option named Tags.
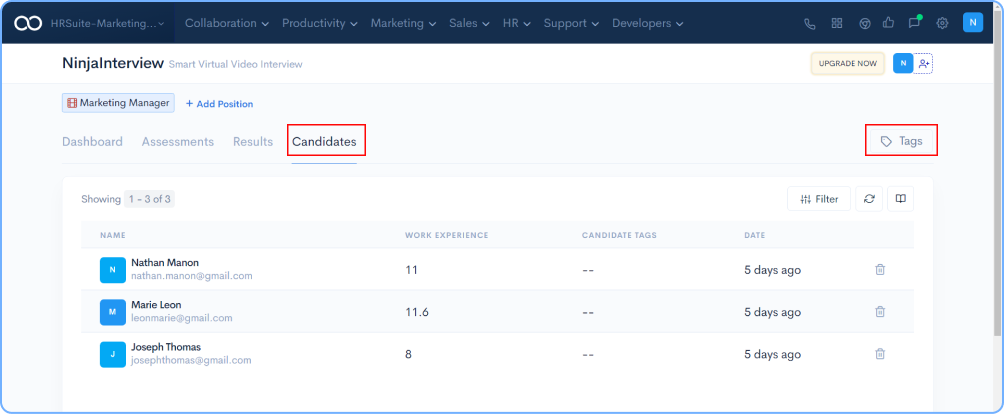
Click on the Tags option. You will find a default list of tags. Allocate them based on your requirement.
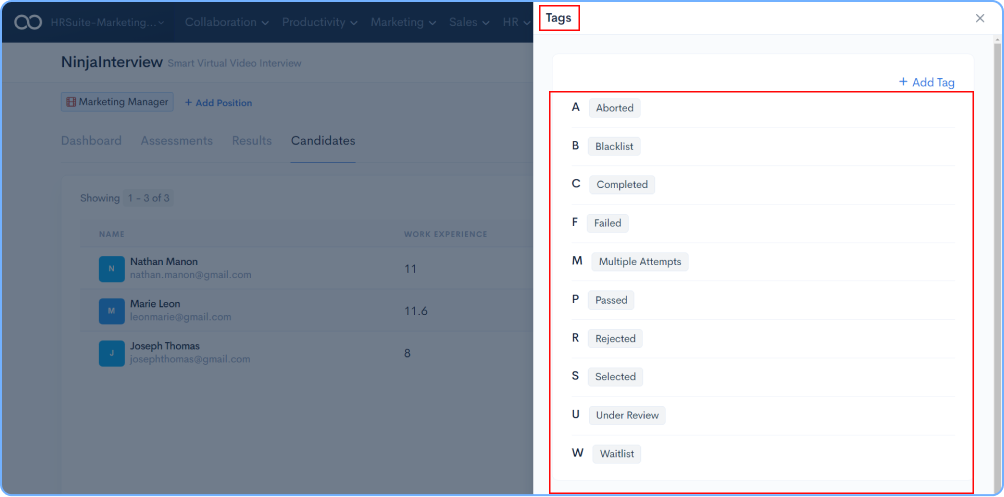
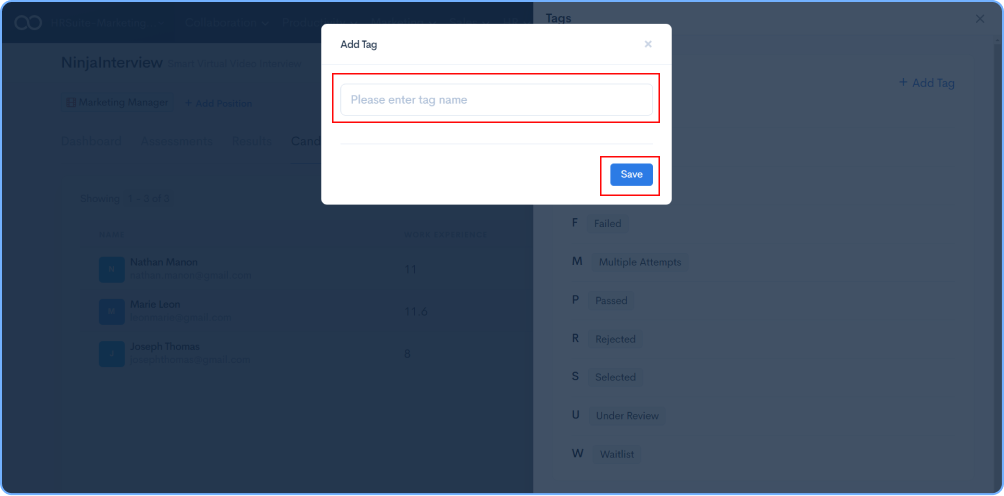
Click on + Add Tag Add a tag name based on your requirement and Save it.
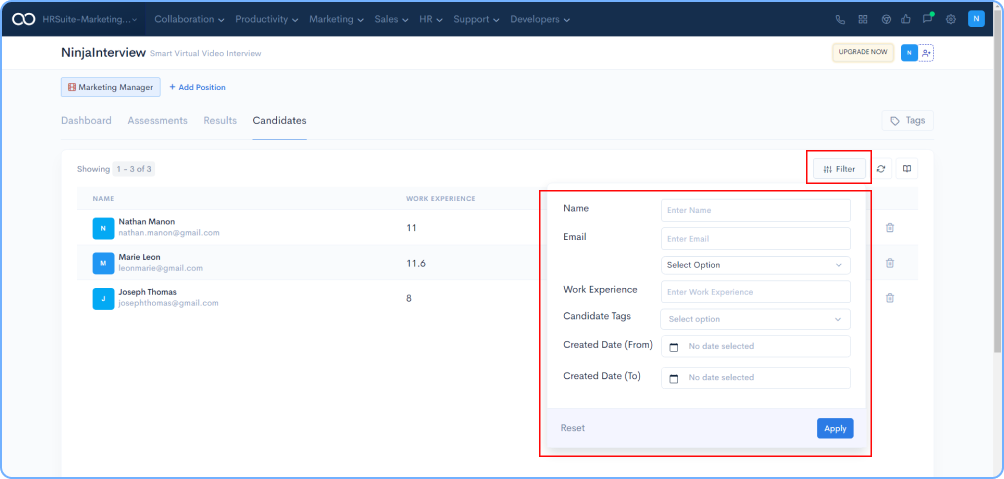
On the RHS of the dashboard, you will find an icon named Filters as shown in the image below.

You can filter by Name, Email, Work Experience, Candidate Tags, Created Date (From), Created Date (To) and click on the Apply option.
On your RHS you have the Refresh option, Click on it when required to refresh the data.
On the RHS of Dashboard, you will find an icon with the name Customize Table.

You will find two options, Work Experience and Candidate Tags Select based on your requirement.

Go to the next level with ![]()
Get 50 other apps with Ninjainterview - Join the SaaS Revolution - 500apps, $14.99/user flat pricing, 24/5 Support (Phone/Email/Onboarding)
